Fast and Fabulous Custom Maps using Mapbox in Tableau
/So the last time I wanted a custom map, I ended up building my own WMS and spending months and $’s to get the map I wanted. If you followed that advice - good for you. You and I can now drink at at Tableau conference and tell the young’ins about how we used to have to walk uphill in the snow, wearing only flip flops and a Magnum BI t-shirt, while being pelted with popsicles to get our maps. Then one day recently, I had a cocktail with Allan Walker (that insane mapping Zen dude) who pointed out that if you just opened up a .tms file in notepad, there just wasn’t all that much to it but a wee bit of xml. Thank you again Allan.
A little side note from Allan before we begin:
"Craig Bloodworth of The Information Lab and I spent some time investigating and customizing the Tableau "TMS" file. While I concentrated on delivering ESRI & Stamen basemaps, Craig took on Mapbox."
What follows is another DataBlick and Allan Walker and Craig Bloodworth bit of fun with maps.
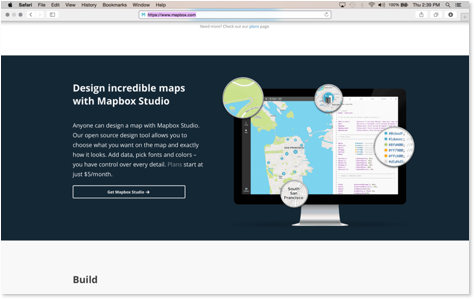
Onto new, fast and fabulous. Seriously, this is gonna rock your Tableau map world. Go to https://www.mapbox.com and scroll down to the Mabox Studio section.
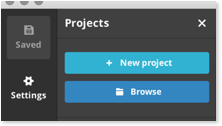
Download and open Mapbox Studio. Once open, click on Start a New Project.
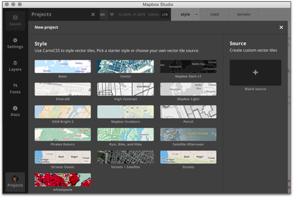
You will be able to select from a bunch of great vector types with different map styles to use as the base layer for your map. You could also start from scratch, but this is all about getting to fabulous fast! For this tutorial, I a going to pick “high contrast”, but feel free to select whatever you like.
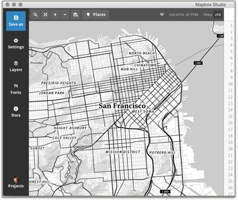
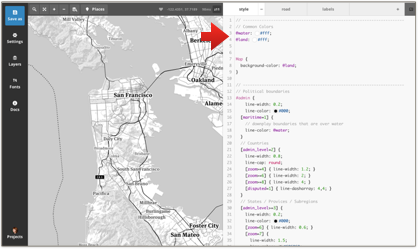
Now notice all of the lines of “css - like” code to the right of the map view? At this point Allan of course says, "make it black". Because as you all may know, every map he makes is all "Johnny Cash" black...
Now before going any further, make yourself a snack and open a bottle of wine, because this is where the fun begins. You may very well find yourself sucked into playing with your new map super powers for hours. Click on a little circle that has color it it. Pick a good one, like water or land. Go on, make them hot pink. Now hit the save button in the upper left corner of the screen. Notice the map update right away. You can also just enter a hex code for the colors if you need an exact match. Play, play play!
I of course am going to use the colors from my SF Giants, and got the exact colors from a fun site called http://teamcolors.arc90.com.
You can change fonts, colors, line opacity, thickness, etc. and also do it for different levels of zooming in and out. One helpful hint is to copy all the code and paste it in TextEdit so you have a backup incase you mess up. You can also type " //" at the beginning of a line to comment things out and test what it looks like before you delete them.
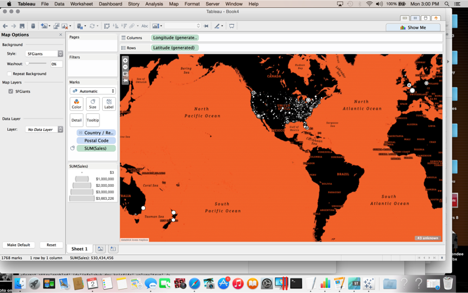
So by now a few hours have probably gone by and you have something fun like my SF Giants map style.
Time to upload your work of art so that you can use it in Tableau. Click on the Setting button on the upper left corner, and then Upload to Mapbox. After you click on Upload you will notice that right above where you clicked there is now a Map ID. This will have your username, plus a bunch of letters and numbers after it. Copy and past that in a TextEdit file for use in a minute. Click on that MapID and you should be taken to Mapbox.com
Notice the API Access token at the top. Copy and paste that into the same TextEdit as your Map ID.
Now open up the sample.tms file below, and copy and past it into a TextEdit file.
NOTE! On the second line where is says version 8.2, please update to 9.0 0r whatever version of Tableau you are using.
Using copy and paste, put your access token in place of the one in the .tms file (red box).
Also give your map a fun name in the two map display name areas so you recognize it in Tableau.
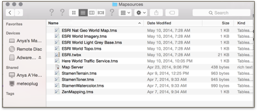
Save your .tms file with a new name. This will be the name that you will see in Tableau so make it descriptive. Place this file in your c:\Documents\MyTableau Repository\Mapsources folder.
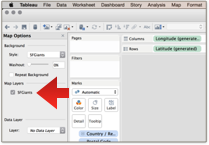
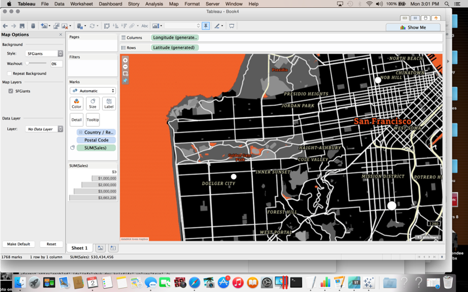
You will have to restart Tableau. After it restarts, open a workbook that had some Geo fields in it, like SuperStore and create a sheet with that data on it. Go up to the Map menu, and then select Background Maps. You should see the new .tms you just made. You totally made a Giants one too right?
Zoom in, pan around. Enjoy! You now know where the folks that shop at SuperStore live, and that they are Giants Fans!
Stay tuned for the next post.... map layers you can turn on and off at will. Maybe get a case of beer for playing with that one.


